Here we will learn about tracking expenses and recording things like invoices from those expenses.
Note: Both Vendors and Categories need to be created before recording an expense.
If you need a refresher on how to create these, click here for the Categories, or click here for the Vendors.
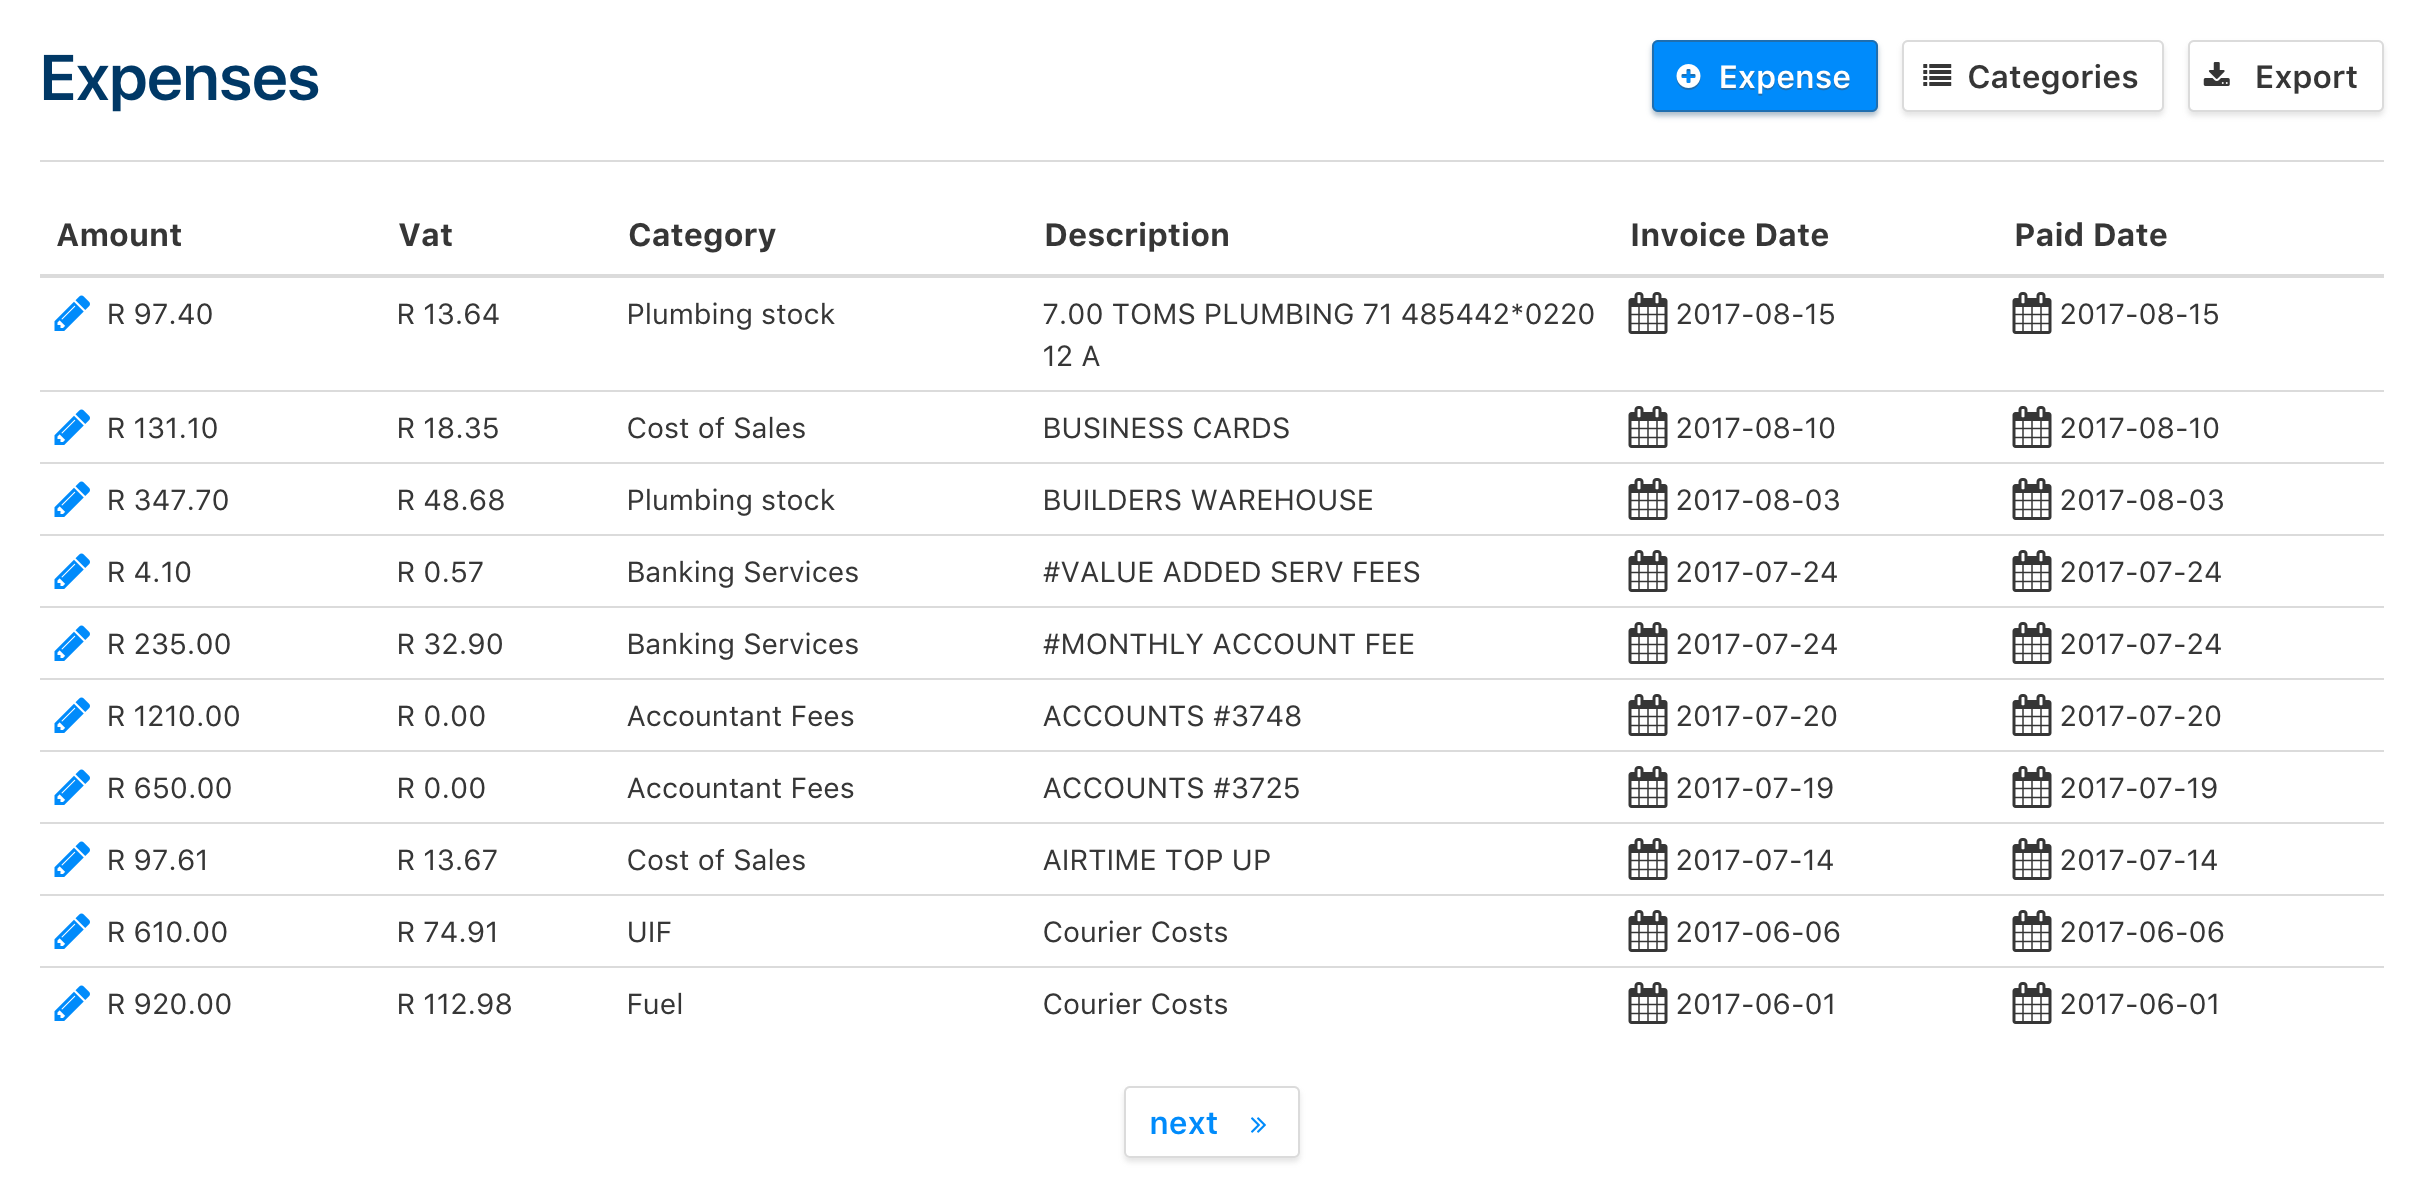
Expenses Index
Clicking on the Expenses button in the Navigation Bar brings you to a window that contains the recorded expenses and gives you a quick overview of them.
Recording an Expense
In the index, click on the '+ Expense' button to go to the window in which you can save the expense.
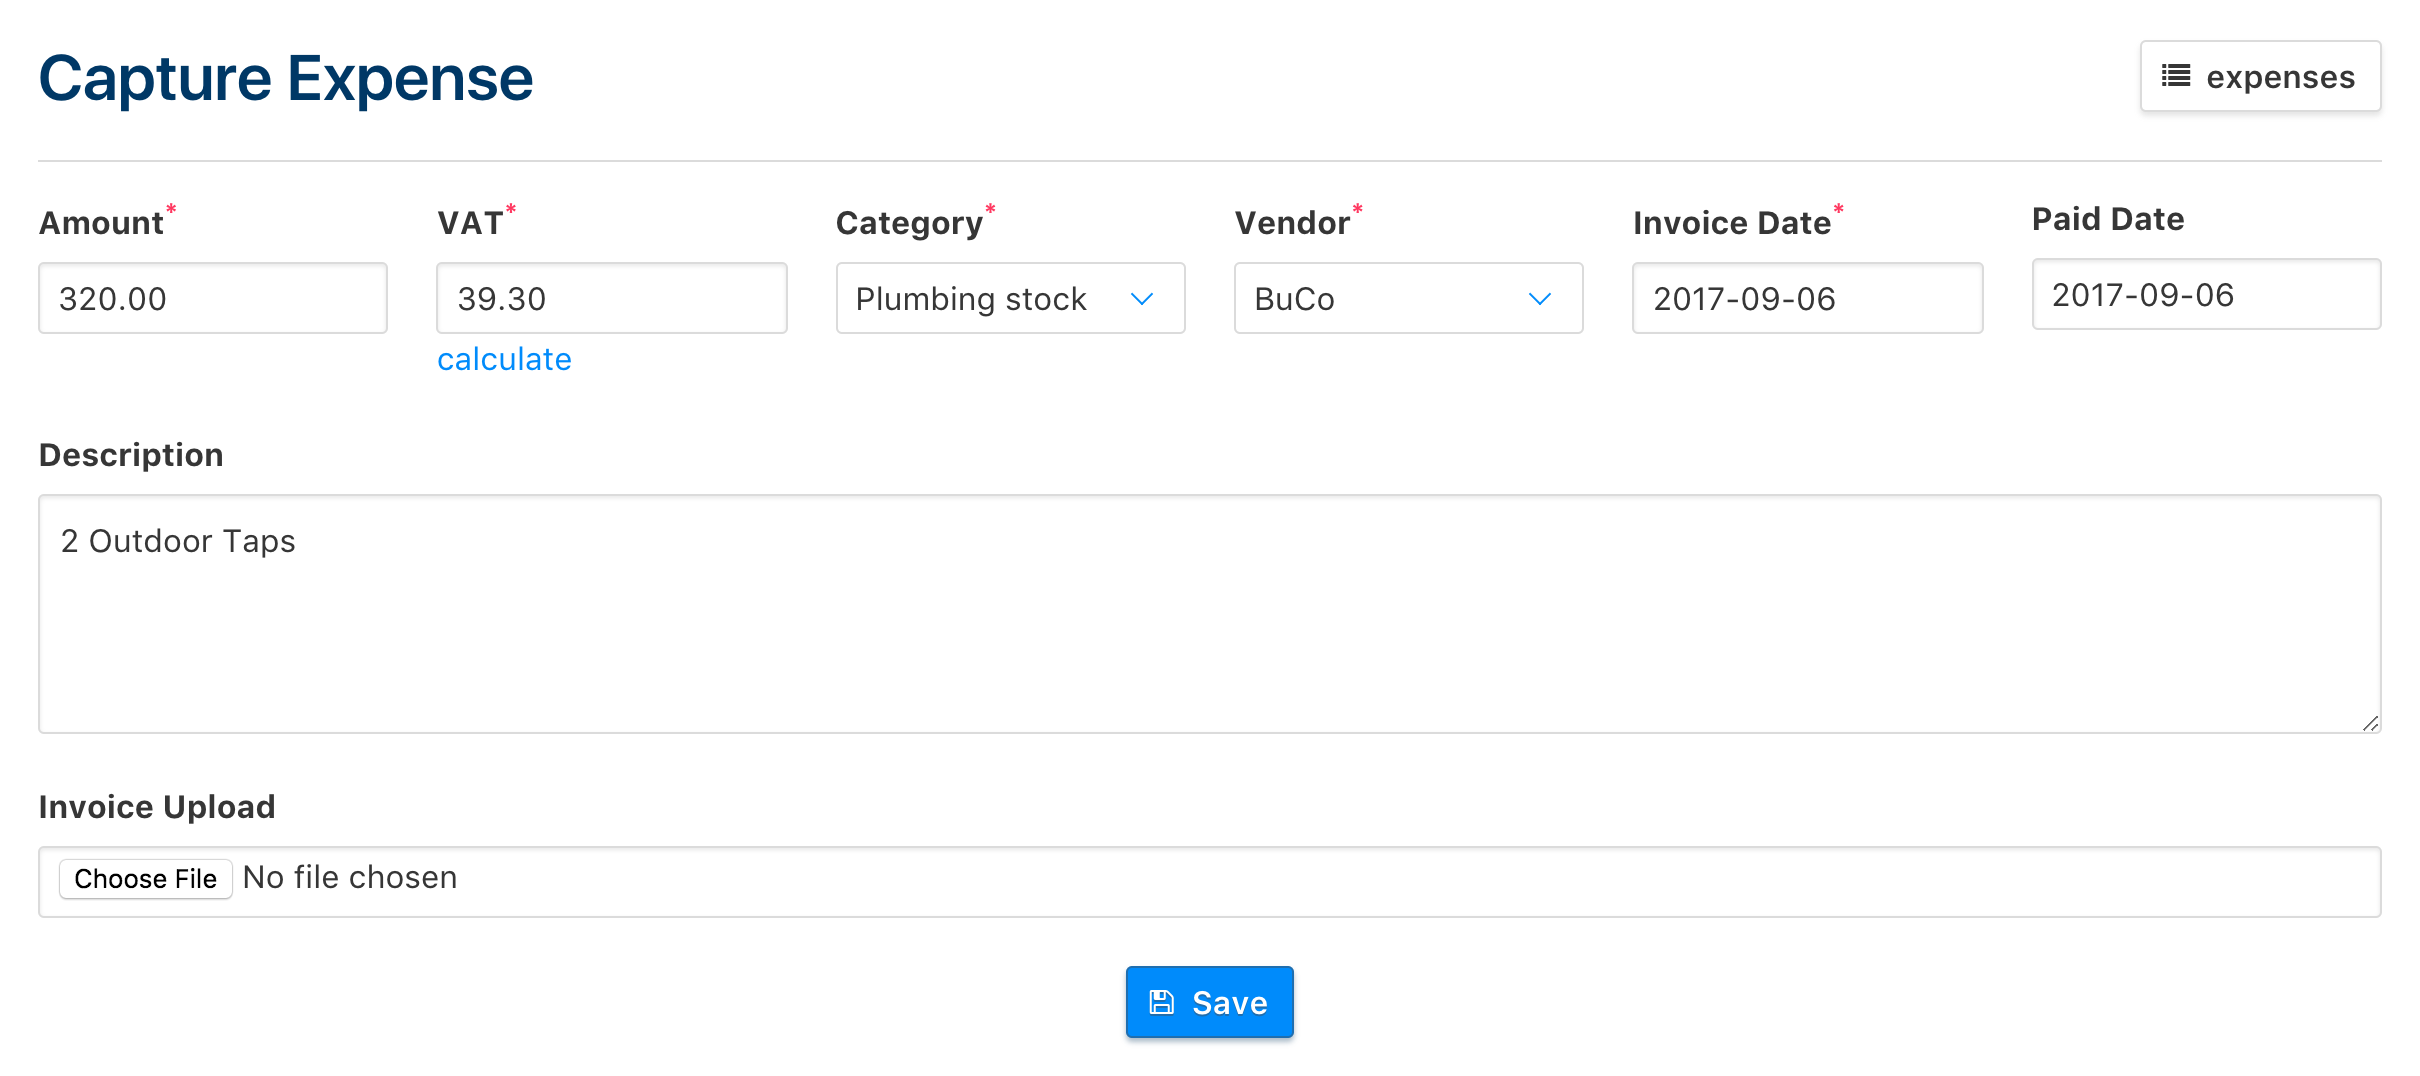
If you need to claim back the VAT on expenses, you can find out the amount by clicking on the 'Calculate' button below the VAT field to get the amount automatically calculated for you.
The Category dropdown will pertain to what this expense would fit in, and these are created by you.
The Vendor dropdown is the same as the Category field.
The Invoice Date is the date that you received the invoice for the expense, and the Paid Date is the date that you paid for the expense.
In the Description field, you can input any details that pertain to the expense, such as a detailed list of stock that needed to be purchased or any further elaboration on the expense.
If you have an invoice that you want to keep on the Clica cloud, you can upload the invoice by clicking on the Choose File button under the Invoice Upload heading.
Note: Expenses you track here will be recorded and will affect your Profit vs Loss totals in your company's reporting. To learn about how you can view this, click here.