Note: You don't have to have sent a quote before creating an invoice.
When you click on the Invoices dropdown in the Navigation Bar, you will see a few options to choose from.
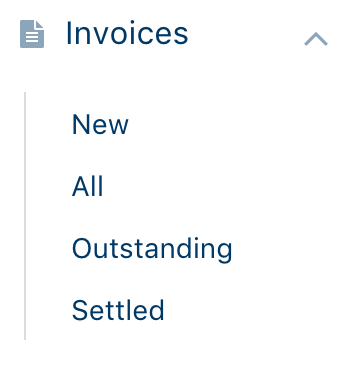
To create a new invoice, click on the New button in the Invoices dropdown.
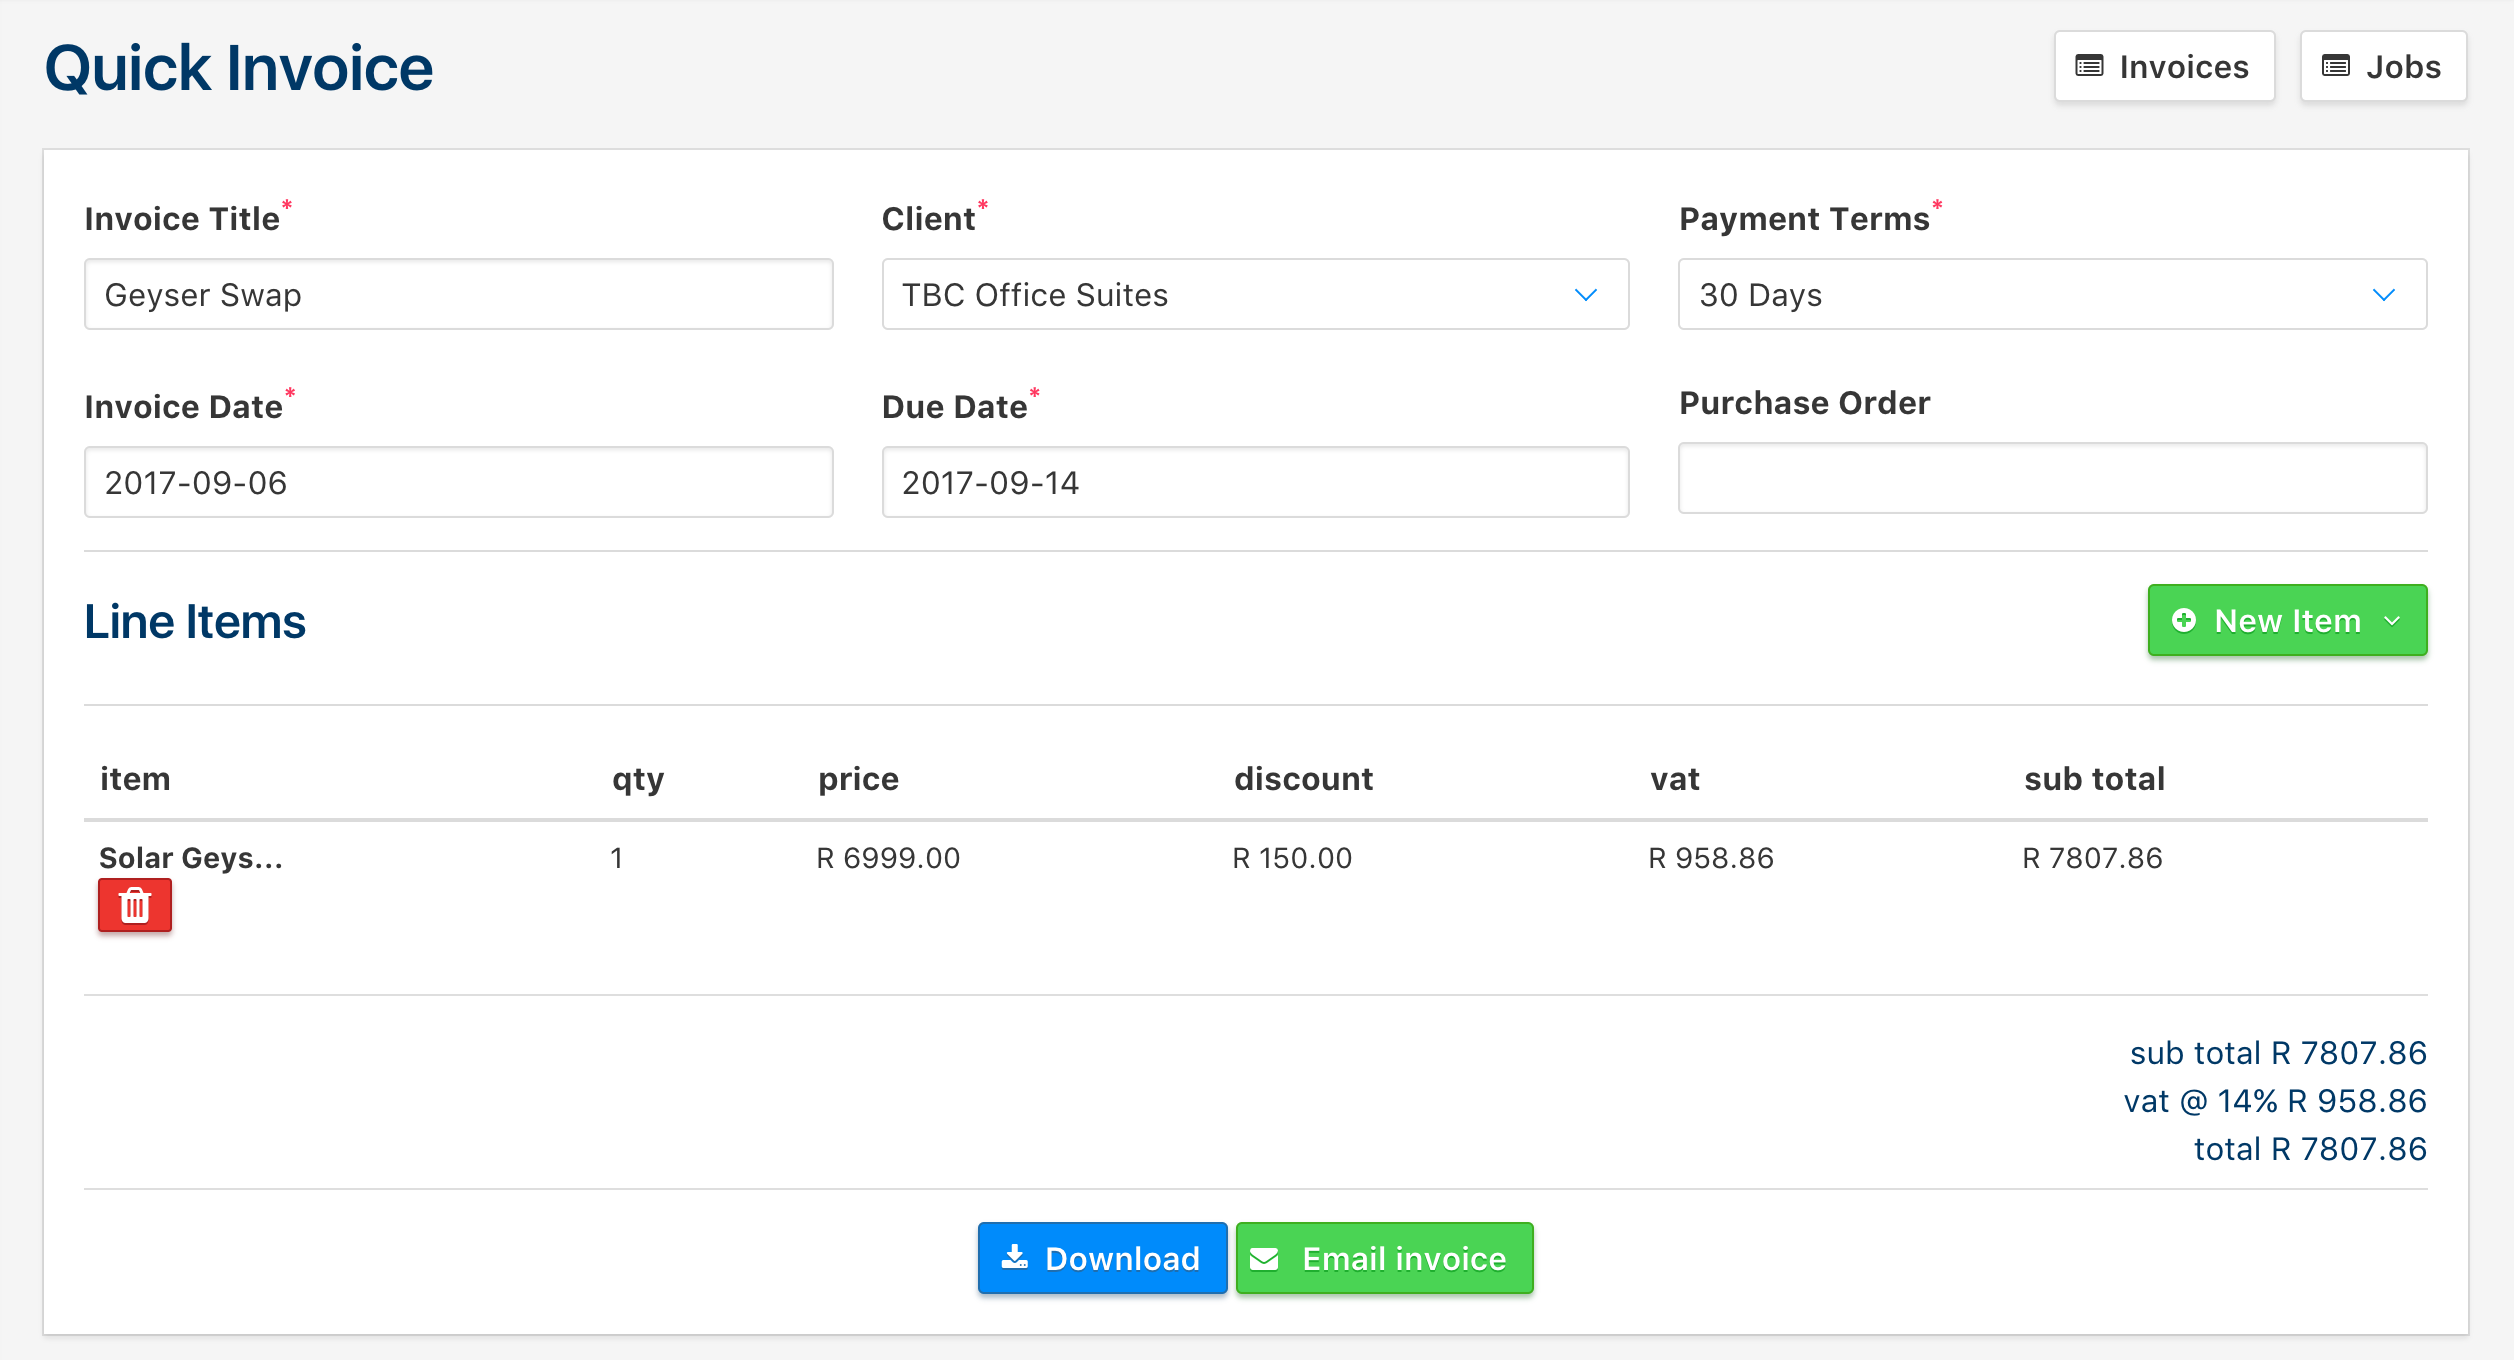
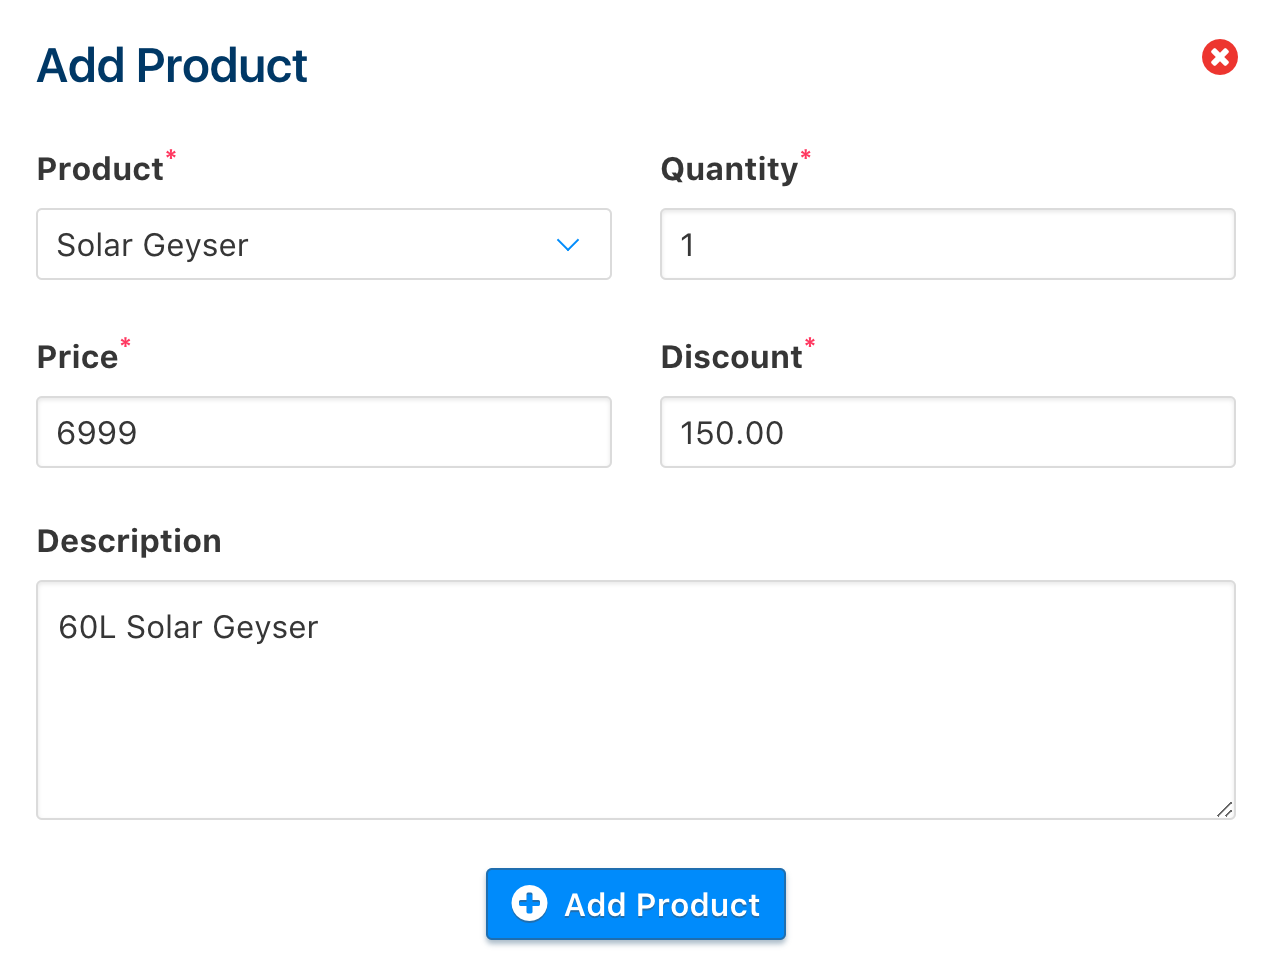
Here, you can fill out the appropriate information for the invoice, and after filling out the information, you can dynamically add items to the invoice, and that amount gets calculated dynamically as well. Hover over the + New Item button to either add a line item from your existing products, or alternatively, you can add a custom item if you have to.
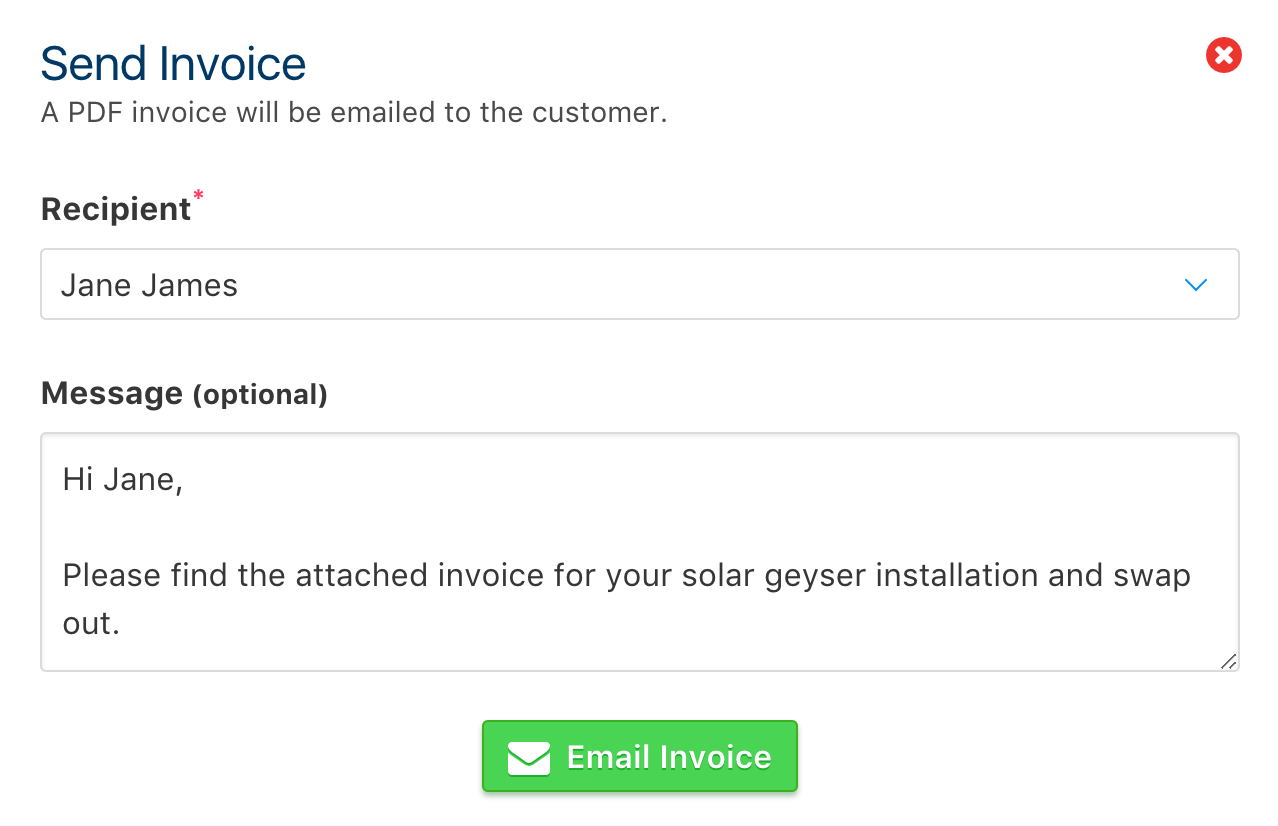
After adding the items to the invoice, you can either download or send the invoice off to the client.

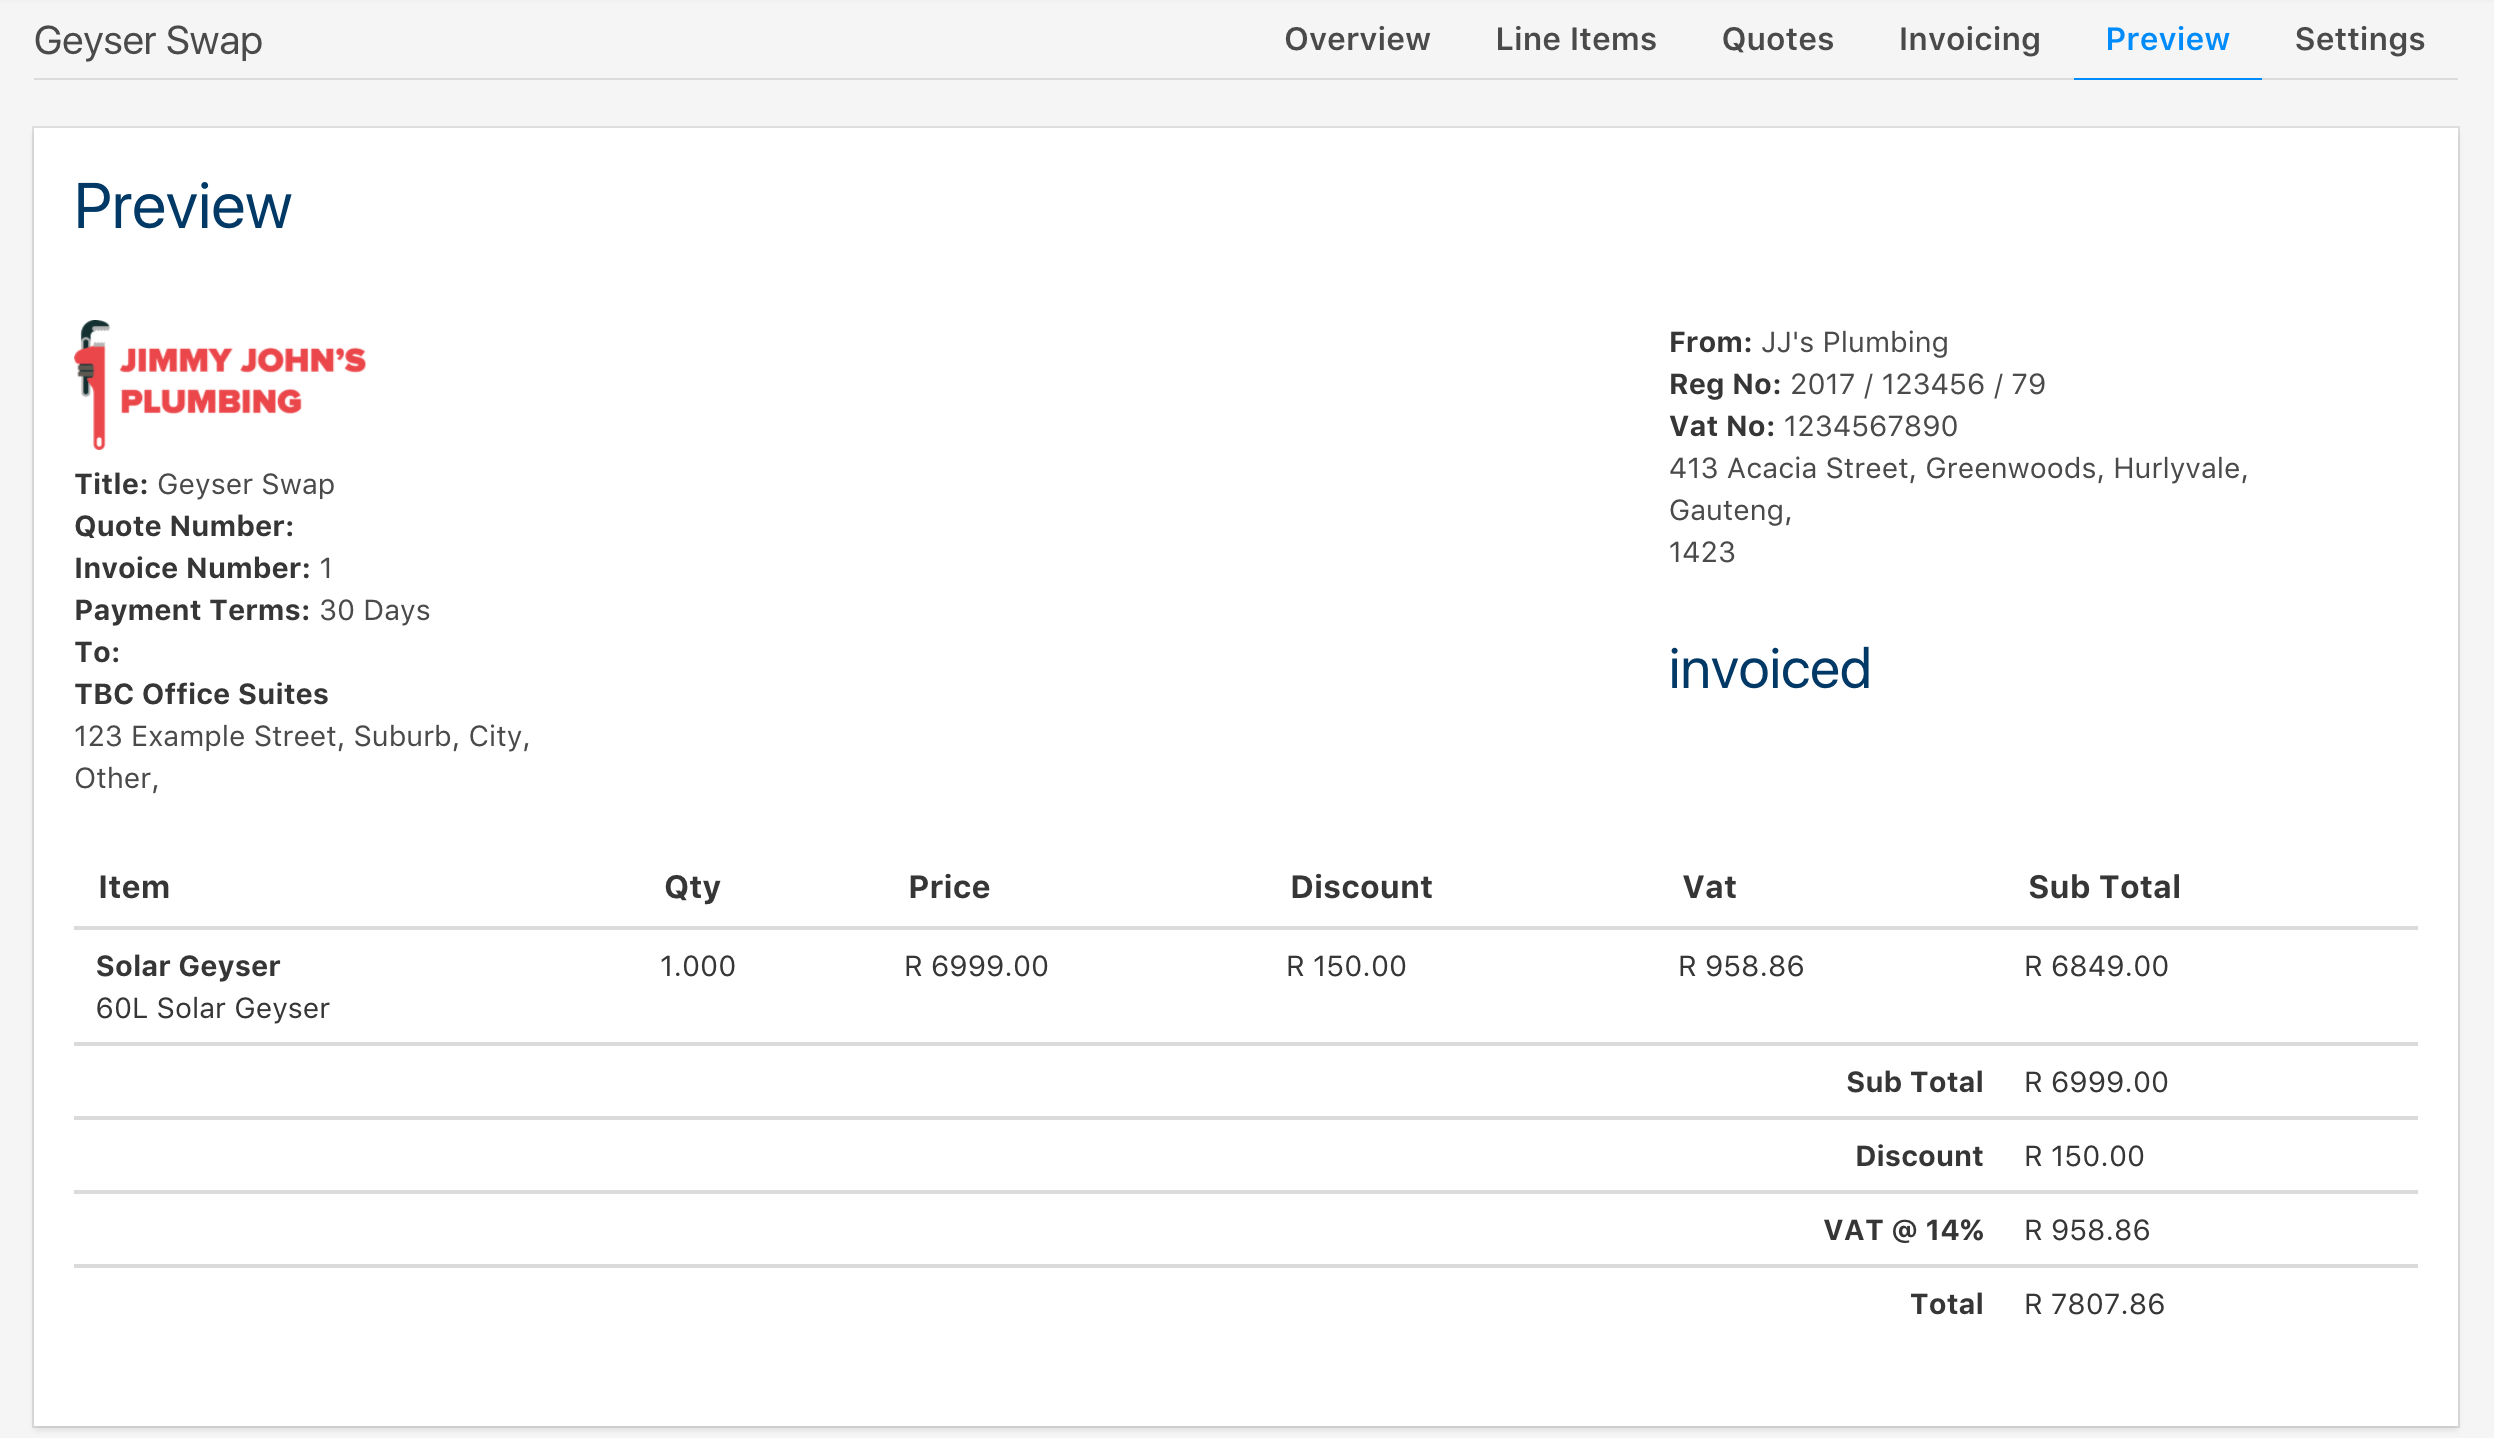
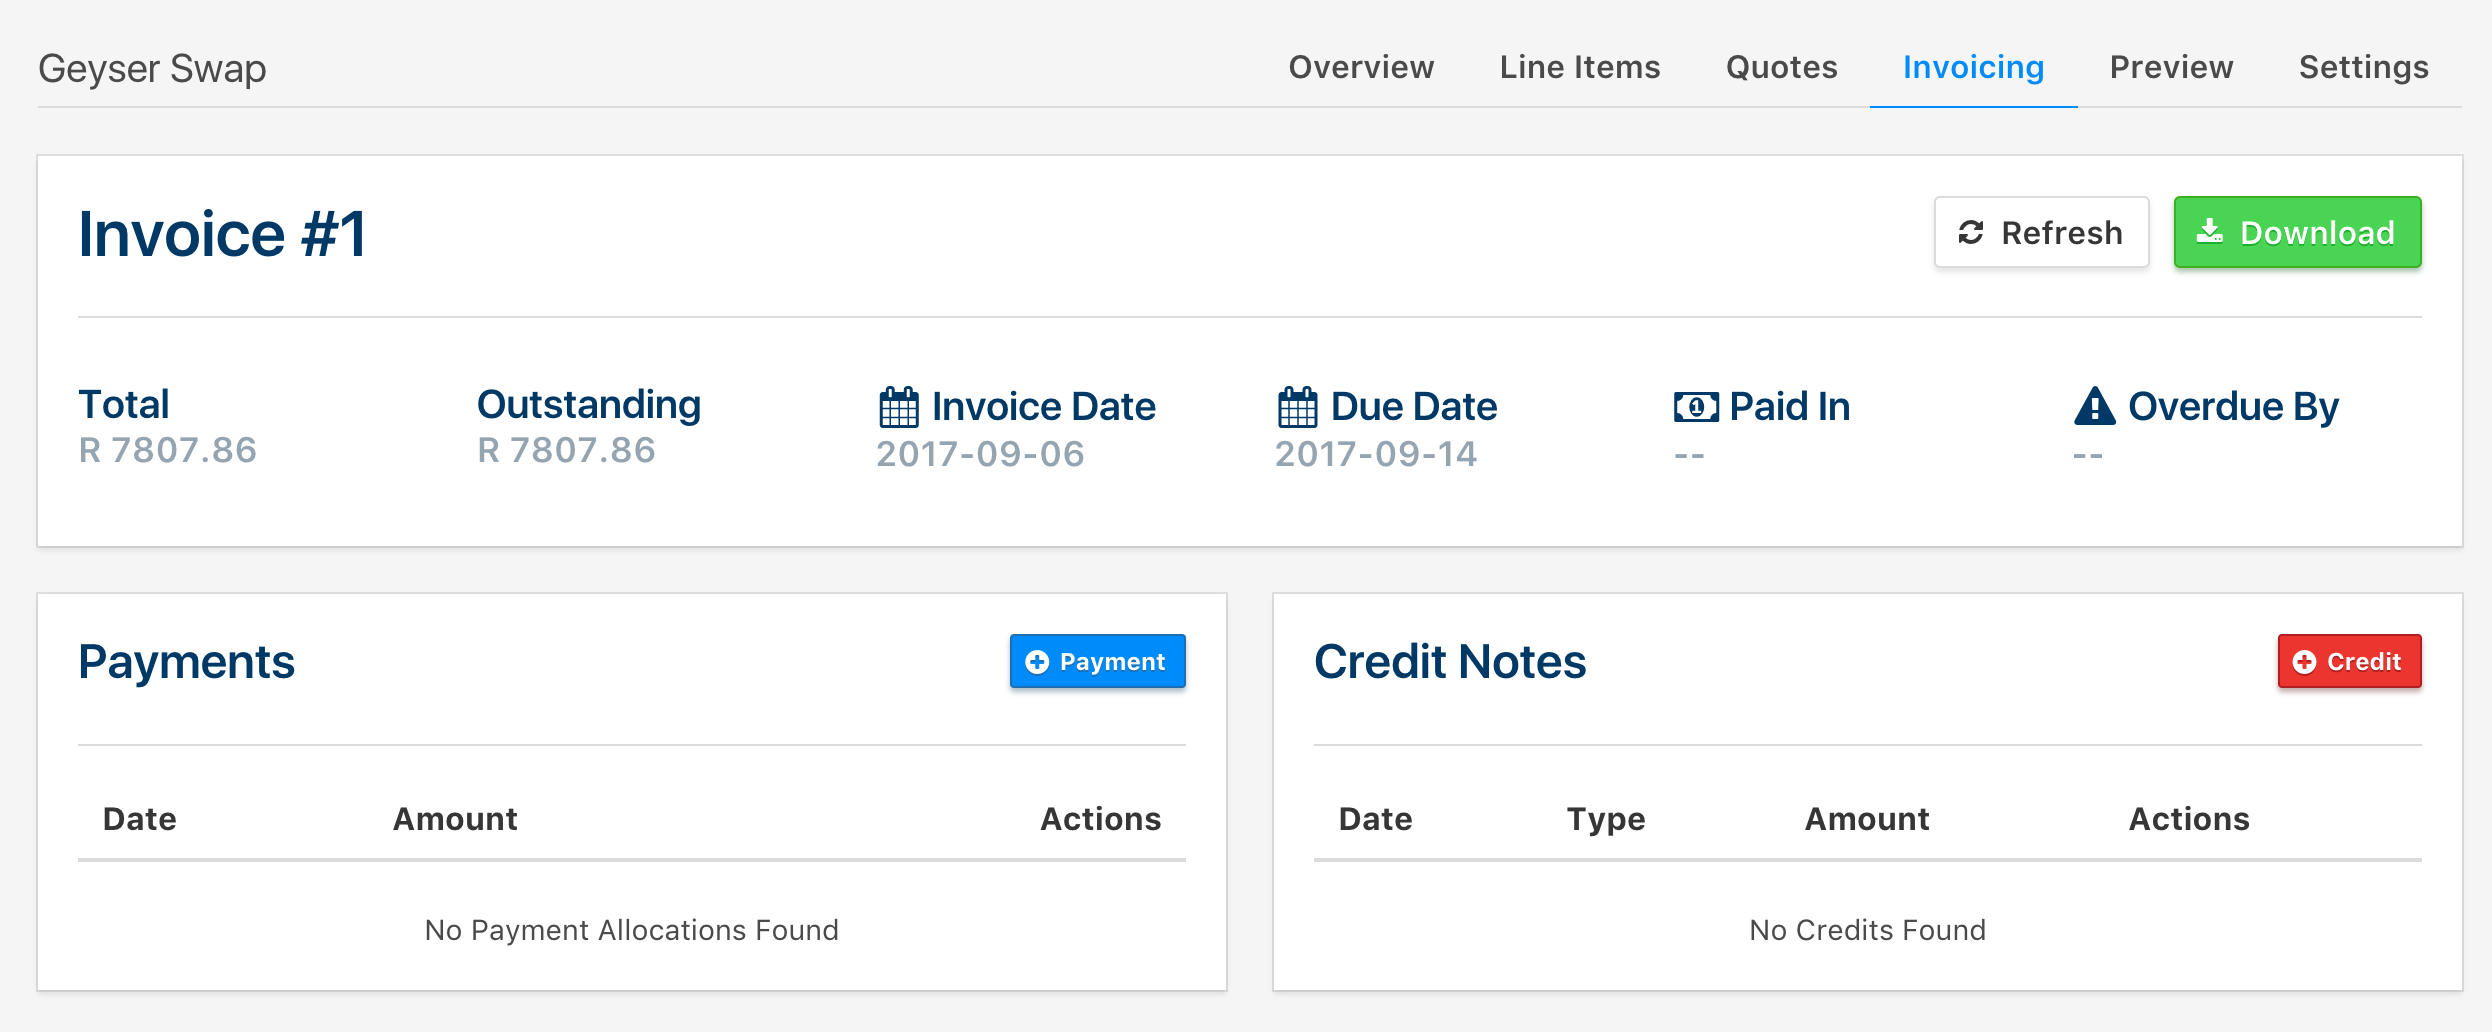
After doing so, you will be brought to a window that has the overall information for that specific invoice.
The information you put into your company's profile will populate the fields in the invoice that you send off to clients or download. Click on the Preview tab to see what it will look like when sent off to a client.