1. Basic Info
Company Name: Your company is required to proceed. If you are a Sole Trader simply add in your name.
Registration Number (optional) : Your company's registration number.
VAT Number (optional):
A VAT number is not required when setting up your profile. VAT will be automatically added to all quotations and invoices when a VAT number is present.
Invoice Number:
New Profiles are always assigned a Job Number or Invoice Number of 0. When your first invoice is sent the Invoice Number will will be 1. This number will increment upwards with each invoice that is sent. Existing companies transferring to Clica will simply add in their current Invoice Number.
Quote Number:
Like the invoice number, the initial starting number of quotations is 0. This number will increment upwards upon each quotation sent.
Invoice Number:
Global invoice prefix setting. All invoices sent will have this prefix added. If you do not require a prefix simply leave this field blank.
Quotation Validity:
Set the amount of time quotations are valid for before expiring.

2. Location
Step 2 covers the location and contact information of your business.
Physical Address
Land Line: This is the land line of your business.
Fax: This is the fax number of your business.
Street: This is the street address of your business.
Suburb: This is the suburb of your business.
Postal Code: This is the postal code of your business.
Postal Address
PO Box Number: This is the post office box number of your business.
PO Box Area: This is the post office area code of your business.
PO Box Postal Code: This is the post office box code of your business.

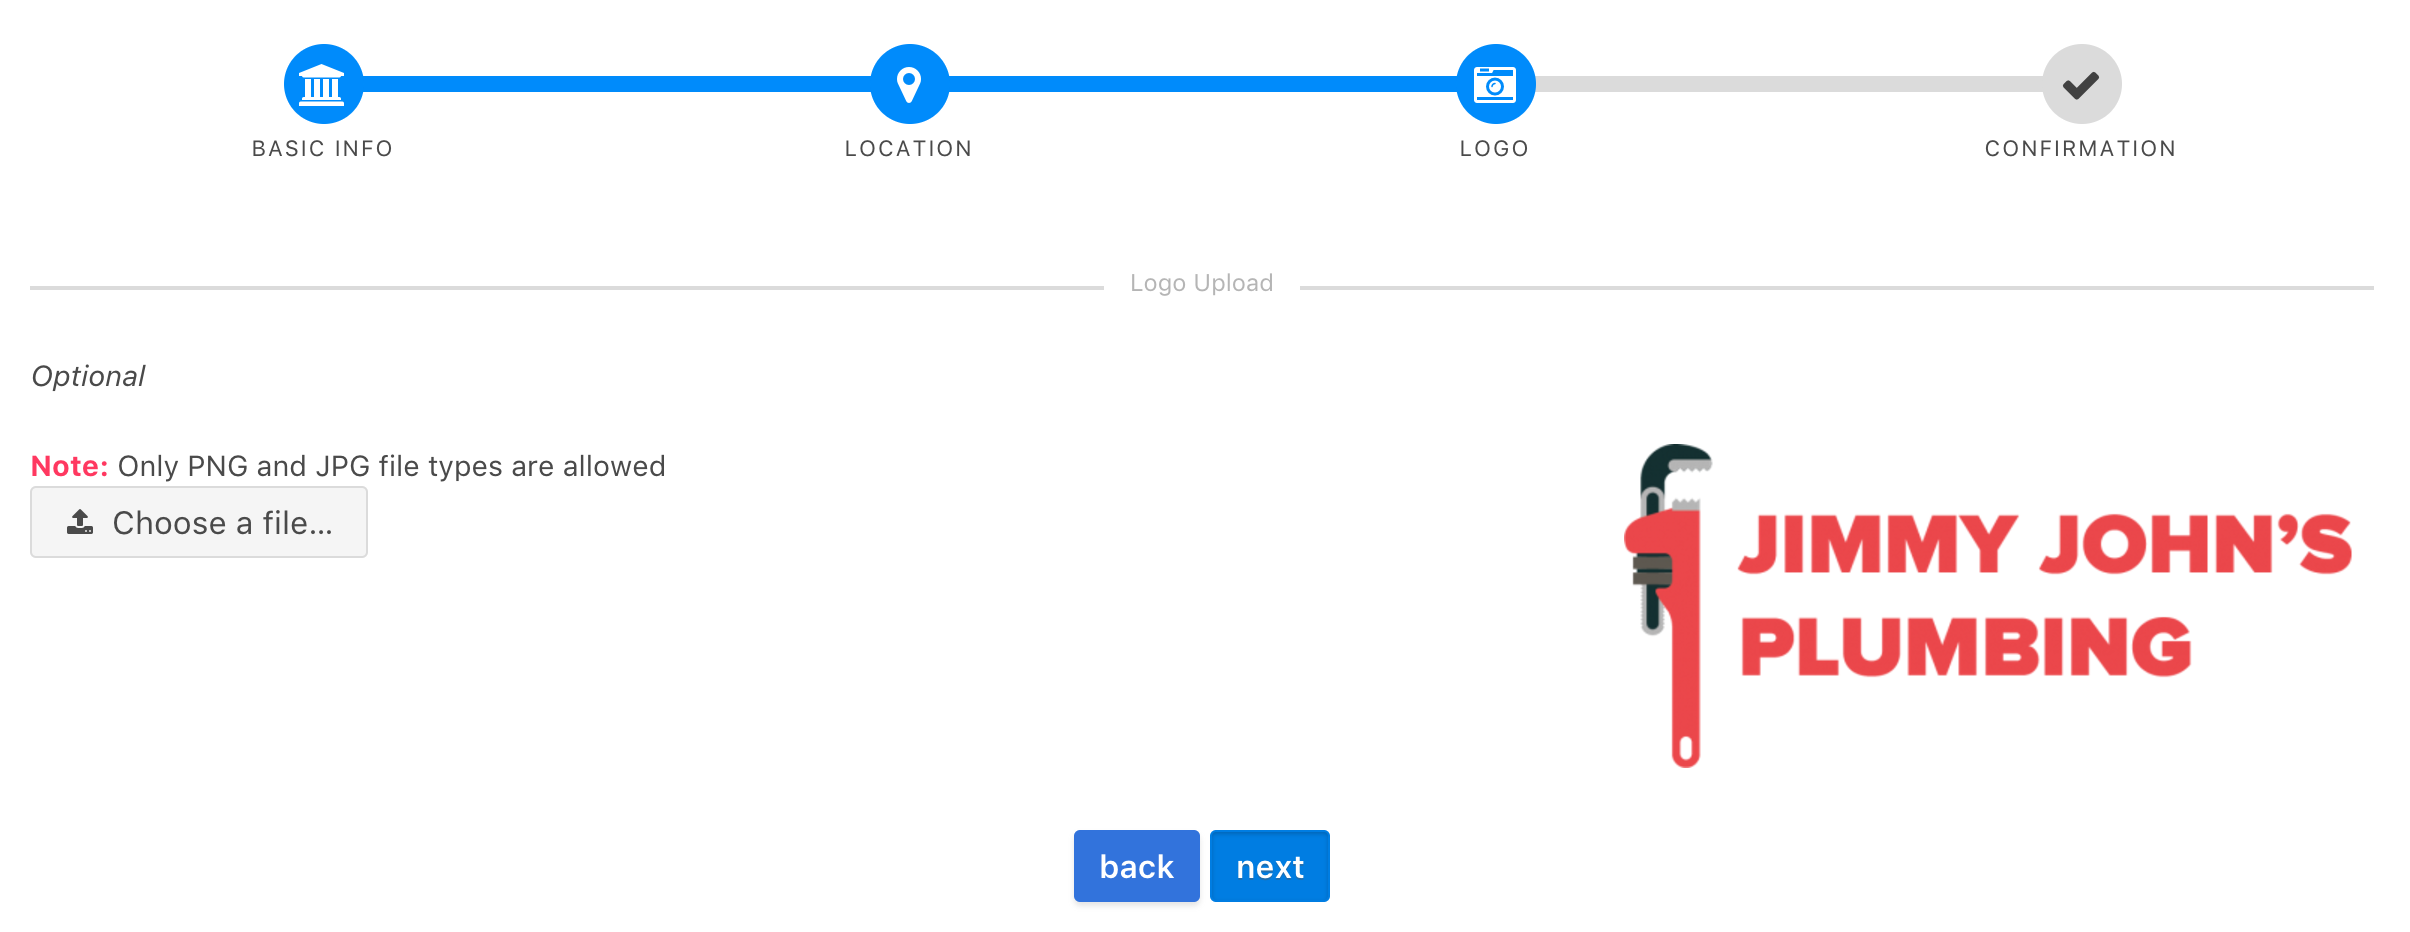
3. Logo Upload
Note: This is an optional step.
Simply drag and drop or click the white box to upload a logo. If you don't have a logo, you may skip this section.
Supported File Types: Only PNG and JPEG files are supported.